Prickly Pear Jam seems so exotic but it is dead easy to make.
I have alwasy been curious about 'prickly pears' also known as 'cactus pears'. They grow wild in the Southern US. The internet has photos from home cooks showing off large cactus' in their home gardens laden with fruit.

They also go in to great detail on how to remove all those thorny spines by burning them off or removing with gloves and tweezers. Seems to be a formidable job - which makes me glad that the tame ones we see in our supermarkets are already de-spined.
So - what does prickly pear taste like? Hard to describe- sort of like a slightly earthy (in a good way) watermelon. Maybe a hint of citrus... very intriguing...
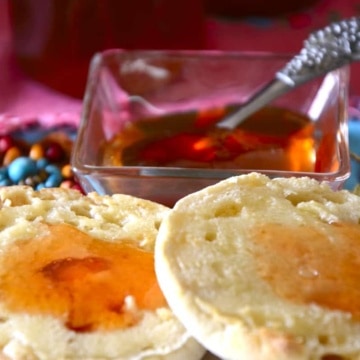
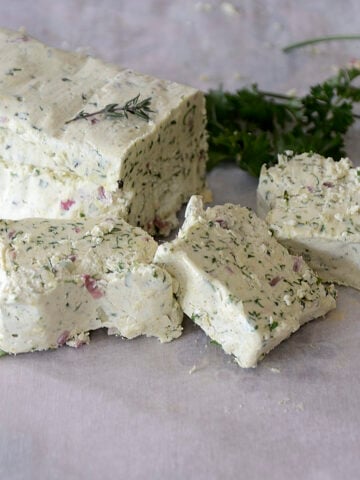
I loved it on jam and over cream cheese with crackers. It is also good over melted Brie! I actually made up a few in .25 pint jars which are about perfect for drizzling over a brick of cream cheese. Think... great gift size!
Chef's Tips for Prickly Pear Jam
- The finished volume of jam will vary depending on how big your pears are and how much you thicken it. I prepped an extra canning jar just to be safe. I also chose a combination of half pint and quarter pint jars so I only needed to open one small jar if I was going to use it as a topping for cream cheese or melted Brie.
- Make sure to strain the pulp well over a fine sieve or through cheesecloth (or both). You do not want any seeds to slip through to the jam. You risk breaking a tooth if you try to crack one. They are absolutely inedible!
- The consistency of this preserve is half way between jam and jelly. The pulp is silky enough that you do not get the lumpy texture of jam but not as pristine as what you would think of as jelly.
- Preserves should be used within 12 months. (But.. don't we all have some that have gone over that 12 month break point with no adverse affects?)
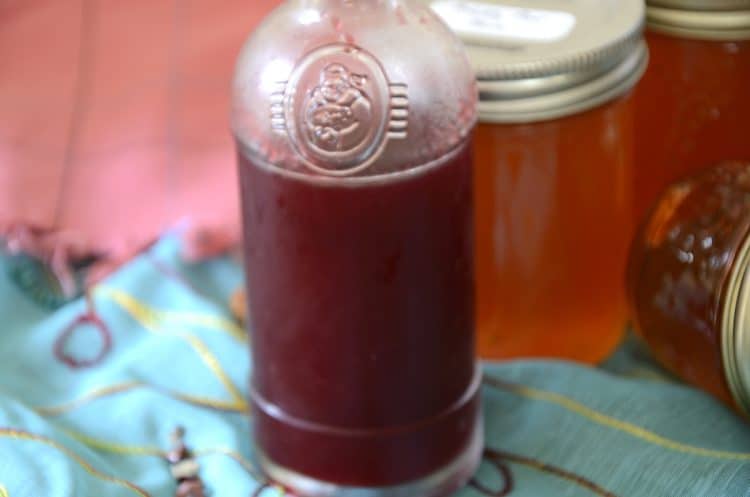
If you like the taste of prickly pear you may also be interested in Prickly Pear Syrup- a great addition to a sparkling wine or mixed drink.
If you have Prickly Pears left over consider making Prickly Pear Syrup and/or Prickly Pear Vinaigrette.
Equipment
- 3 half pint mason jars or equivalent with lids and rings
- Water Bath appliance or large pot with a rack on the bottom
- Tongs for handling hot jars
- Wide mouth funnel for filling jars
Ingredients
- 8 prickly pears thorns removed
- 3 Tbsps lemon juice use bottled juice to ensure consistent acidity
- 2.5 Tbsps powdered fruit pectin (plus 1 more teaspoon optional if you want a thicker consistency)
- 2 ½ cups sugar
Instructions
- Heat oven to 275° F and sterilize clean canning jars for 20 minutes in oven. Add enough water to your canning pot to cover your jars by at least 1". Bring that water to a boil and keep it hot while you prepare the jam. In a separate container prepare enough boiling water to submerge lids later on.
- Halve the prickly pears vertically and scoop the flesh and seeds directly in to your food processor.
- Pulse about ½ minute until the mixture is liquid with seeds intact.
- Strain juice, pulp and seeds through a fine strainer over a bowl. Press on the pulp with the back of a spoon to maximize volume of flesh. Make sure no seeds pass through the strainer. (Seeds are hard as rock and completely inedible.)
- Combine prickly pear juice/pulp with the lemon juice and pectin in a saucepan. Heat to arooling boil that cannot be stirred down. Add the sugar and stir until it is dissolved. Return mixture to a boil and allow to boil until reduced by half. This may take 7-10 minutes depending on the size of your saucepan.
- While jam is thickening, return the water in your canning pot to a boil and submerge your lids in the other container of boiling water for 5 minutes just before ready to use.
- Remove jam mixture from the heat and skim off froth if any on top of the mixture. Jam should be thick enough that you can dip a metal spoon in, run your finger across the back of the spoon and it will leave a clear streak. If not thick enough - add the additional 1 teaspoon of pectin and return to a boil for 1 minute or so.
- Use tongs to remove jars from the oven and fill sterilized jars to within ¼ inch of the top. Run a knife up and down the side to remove any air bubbles. Wipe the top rim of the jar clean with a vinegar dipped paper towel. Position lid carefully and tighten screw band just until finger tight.
- Use the tongs to transfer the filled jars of jam to the canning pot (with the rack in the bottom). Bring water to a rolling boil and process the jars for 10 minutes from the time the water reaches the boiling point.
- Remove jars carefeully with the tongs and set on a clean towel or hot pad. Allow jars to sit overnight. You will hear pops as the lids seal. In the morning, remove the screw bands and check that the lids are sealed. The lid should be concave in the middle and you should be able to lift the jar just by holding the lid. Wipe the jar top and threads clean. You can store the jam without the screw bands to avoid rusting the screw bands. Add the bands back when you open the jam or gift it.
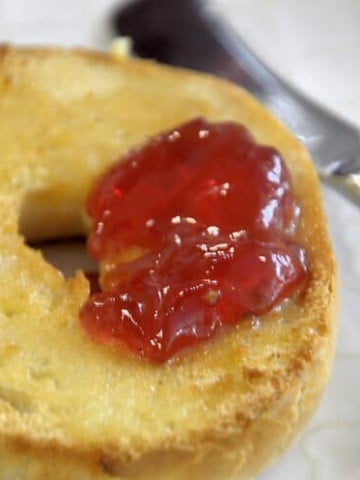
- Enjoy on toast or over cream cheese on crackers.

Leave a Reply