Canned Roasted Red Peppers will add flavour to pastas, pizzas and dips all winter long.
If you have a digital commercial canner, canning becomes very easy. I use to have to fill a stock pot with water, and I had a small rack for the bottom of it. But the height of the stock pot and getting it on the burner, full of water was a bit of a chore. Then sumbmerging the jars and removing them involved a step stool ..... I also had to wait till all that water cooled down before I took it off the stove because the chance of slopping hot water over me was pretty high!
All this to say I finally decided to invest in a commercial pressure canner. And I am really glad I did!
I love roasted red peppers so I am happy to put a little effort in to preserving my own!
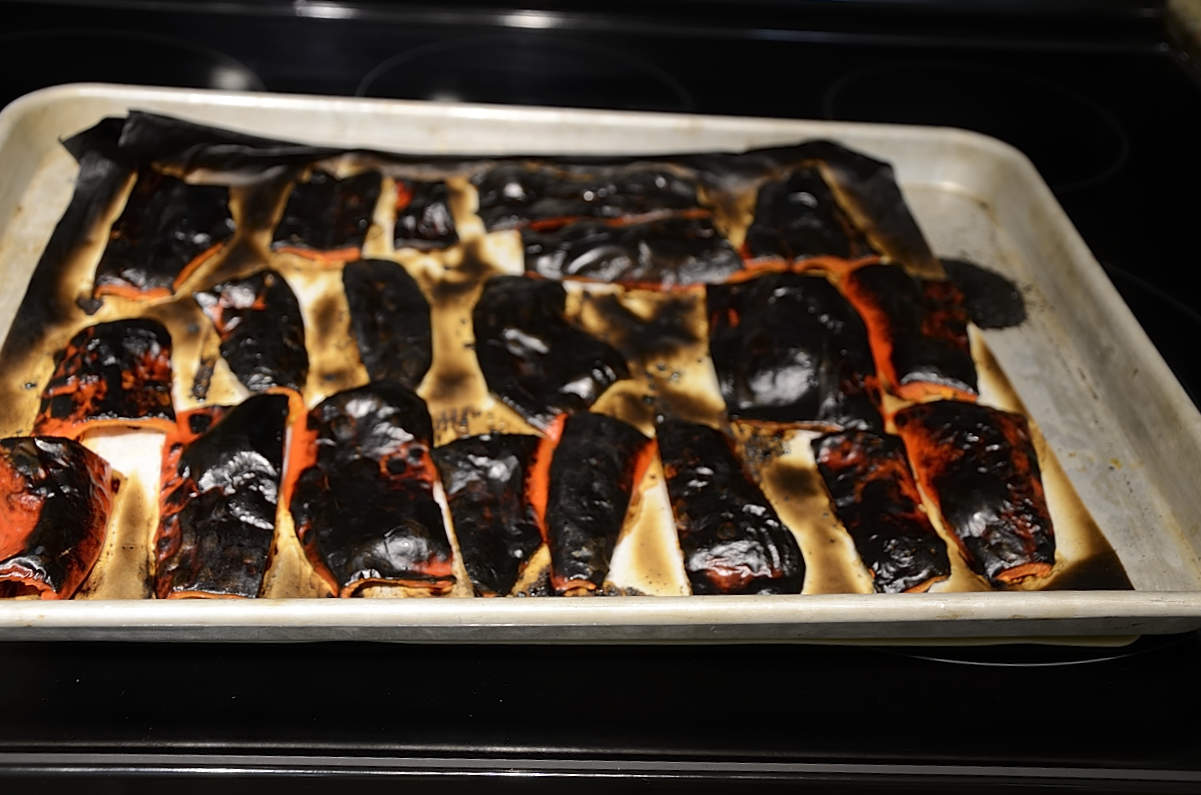
One thing to keep in mind during the roasting is - let those little peppers get really, really black! Any area where the skins is still red will cling to the flesh. It isn't bad if you only have a few spots but if there is a fold in the pepper and you get a whole streak of red then it is a bit more effort. The black and bubbly parts just about fall off!

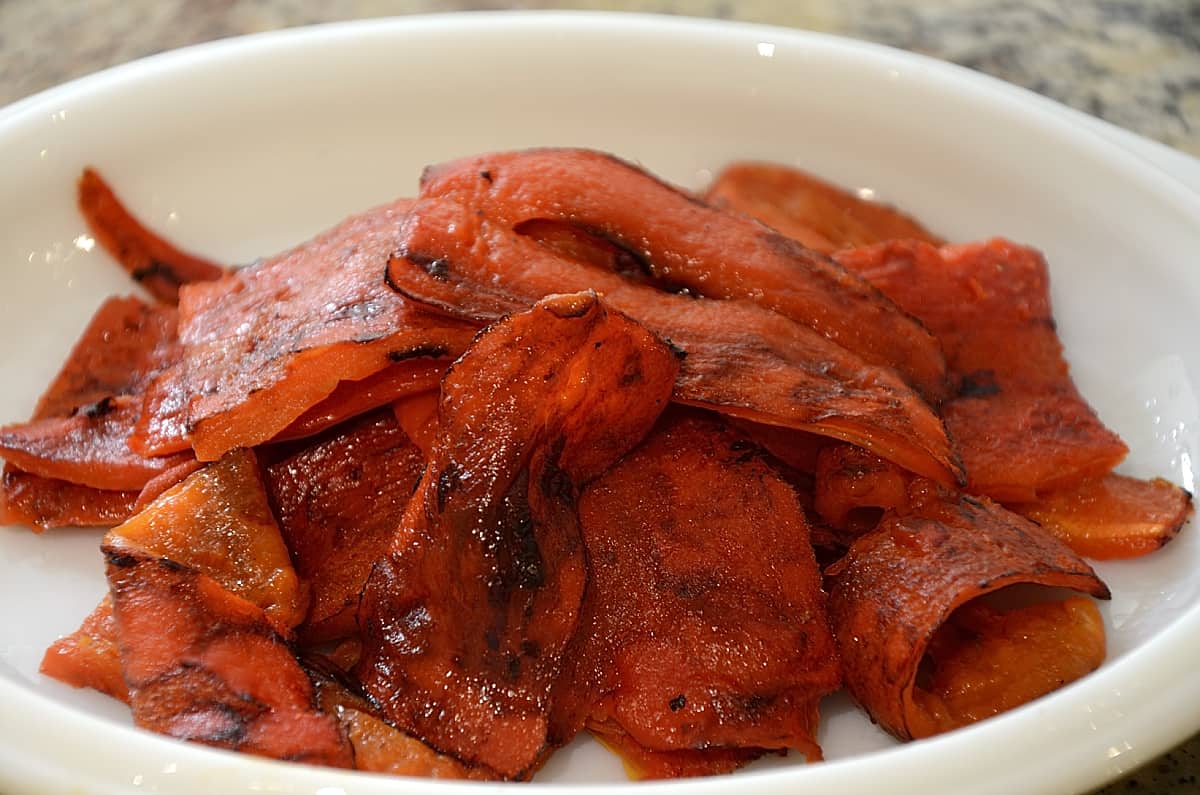
And once they are peeled you get these juicy soft pieces of pepper... yum!

Canned peppers will keep on a cool, dry shelf up to a year so you can enjoy the all year round!

Canned Roasted Red Peppers
If you tried this, or any other recipe on my website, please leave a 🌟 star rating and let me know it went in the 📝 comments below!
Save Print Pin FacebookEquipment
- Canner or deep pot with rack
- 3 Pint Canning Jars with lids and rings
Ingredients
- 4 lbs fresh red peppers I used Shepherd peppers
- 1 medium sweet onion sliced vertically, optional
- 1 cup bottled lemon juice
- 2 cups white vinegar
- 1 cup olive oil
- 1 ½ tsps coarse pickling salt
Instructions
- Prepare your canner according to manufacturer's direction. (Or fill a deep pot with a rack in the bottom, with water. Jars cannot sit on the bottom of the pot. Water should cover jars by at least 1". Bring water to a boil.)
- Heat up broiler in the oven. Prepare a baking sheet with parchment paper.
- Wash, trim and seed peppers. Slice the flesh vertically into 4 or 6 slices each. Press each section so it lays as flat as possible on the baking sheet.
- Broil on high 4-5 inches from the broiler element until the skins are toally blackened and blistered. This may take 10 minutes or so, but check your pan periodically. When peppers are done reduce the oven to 275° and transfer the peppers to a closed paper bag or covered bowl. Allow hot peppers to sit for about 10 minutes. The steam will help the skin detach more easily from the flesh.
- While peppers are roasting and steaming bring the vinegar, lemon juice, olive oil and salt to a boil. If the water is ready before the jars are sterilized, keep it just under a boil and then bring it back to boil before filling the jars.
- While the peppers are steaming, heat your jars in the oven at 275° for 20 minutes. Lids and rings should sit in boiling water for 5 minutes. Time it so lids come out as you are filling the jars. You can let the jars sit in the warm oven until you are ready to fill them.
- When peppers are done steaming pick up an edge of the blackened pepper skin with a sharp knife. Lift as much skin as you can in one piece. Anywhere black or blistered will come off really easily. If you have any red patches you will have to pick at them a bit more with the tip of your knife.
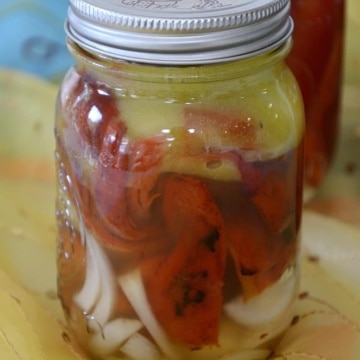
- Use tongs to remove jars from the oven. Fill with the roasted peppers and onion slices if using, and pour the hot vinegar mixture over the peppers, leaving ½" of headspace at the top of the jar. Wipe rim, position lid and tighten band finger tight,
- Submerge hot jars in your canner or pot and process (boil) for 15 minutes.
- Remove jars with tongs and allow them to come to room temperature.
- Once jars are cooled down, remove the band and check that the lid has sealed. Any jars with unsealed lids should be stored in the fridge and used within a month or so.
- Screw bands back on the sealed jars and store on a cool, dry shelf up to one year.

Leave a Reply