• Skip to primary navigation
  • Skip to main content
  • Skip to primary sidebar
The Wine Lover's Kitchen
  • About
  • Father's Day
  • Recipes
  • Wine
  • Subscribe
    • Facebook
    • Pinterest
    • Twitter
menu icon
go to homepage
  • About
  • Father's Day
  • Recipes
  • Wine
  • Subscribe
    • Facebook
    • Pinterest
    • Twitter
  • subscribe
    search icon
    Homepage link
    • About
    • Father's Day
    • Recipes
    • Wine
    • Subscribe
    • Facebook
    • Pinterest
    • Twitter
  • ×
    Home » Breads

    72 Hour Pizza Dough

    Published: Sep 8, 2022 · Modified: Oct 7, 2022 by Carolyn Hetke · This post may contain affiliate links,

    Jump to Recipe Print Recipe

    If you thought you didn't need another pizza dough recipe - think again! This 72 Hour Pizza Dough is not only tasty but it makes it fairly easy to keep a supply of 'fresh' pizza dough on hand.

    The dough develops its flavour slowly similar to the concept of sourdough. It is best on the 4th or 5th day but you can still use it a day or so on either side of that.

    You are going to mix up your ingredients, knead just a couple of minutes with your hands, to ensure there are no dry flour pockets primarily. Then it will ferment 24 hours at room temperature. Then it will cold ferment for at least one day more and up to 10 days more! It is best on the 4th or 5th day but you can I can assure you it is still very tasty day 7 or 8. I haven't kept it longer than that myself.

    Chef's Tips

    • You can use all purpose flour or a combination of all purpose and bread flour but bread flour will give you a crisper, sturdier base so it is preferred.
    • The dough is very sticky.  Be sure to keep your work surface well floured while you are working with the dough balls.  Flour the dough balls and your hands as necessary to keep the dough from sticking.
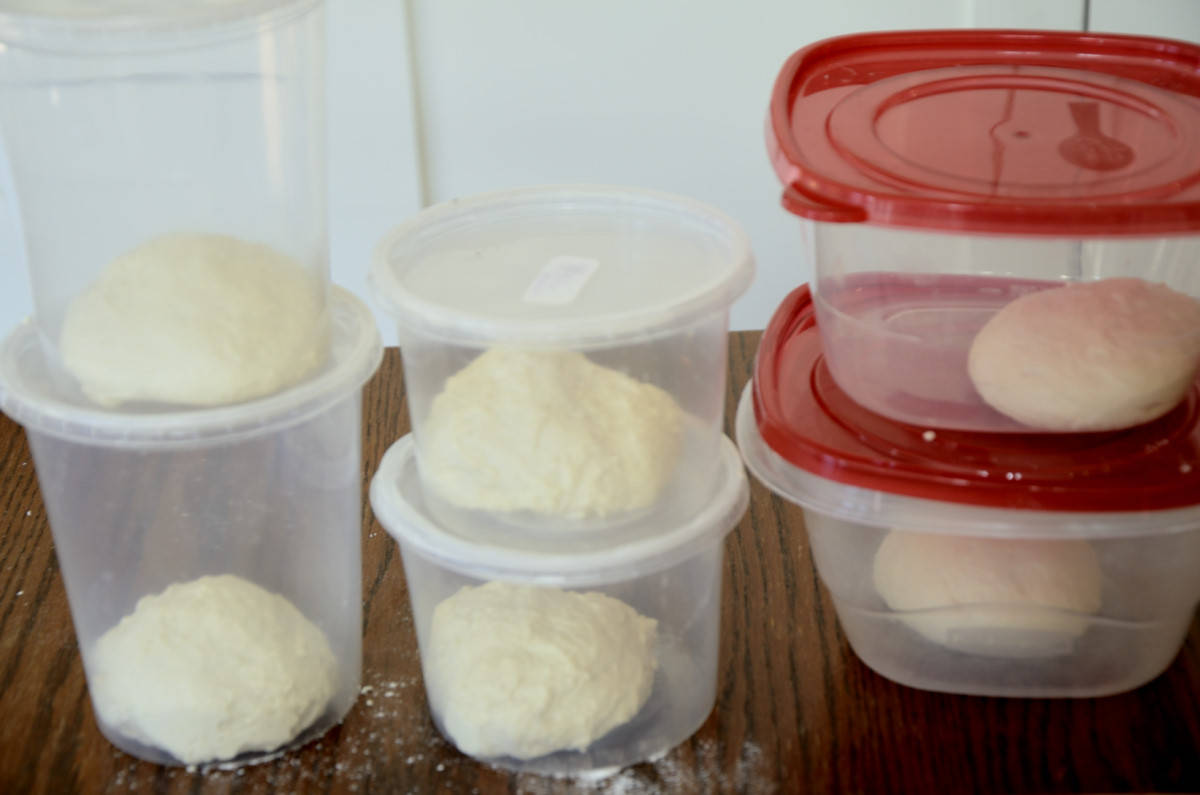
    • I use covered deli containers to let the dough balls sit at room temperature.  You can use plastic containers with lids or cover bowls with plastic wrap.  The dough is still sticky so you want each dough ball to have its own container or it will rise and meld together again.
    • Roll the dough out thinly to desired shape on a well floured surface.  Incorporate as much flour as needed to keep dough from sticking.
    72  Hour Pizza Dough in a bowl.
    Day 4 of 72 Hour Pizza Dough
    72  Hour Pizza Dough on a floured work surface..
    Dough on a floured surface
    72  Hour Pizza Dough on a floured work surface..
    Working dough on a floured surface
    hand kneading 72 Hour Pizza Dough balls.
    Hand kneading dough balls
    Hand kneading 72 Hour Pizza Dough balls.
    Hand kneading dough balls
    Pinching bottom of dough ball
    Smooth dough ball
    Dough balls resting at room temperature

    This dough was perfect for this Baking Steel Pizza... it is sturdy enough to stand up to baking at very high temperatures and crisp enough as a thin crust to support the toppings.

    Slightly charred cooked pizza with tomato sause, mushrooms, pepperoni, olives and onions.
    Baking Steel Pizza
    72 Hour Pizza Dough in a bowl.

    72 Hour Pizza Dough

    A very forgiving and versatile way to keep fresh pizza dough handy
    Author: Carolyn Hetke

    If you tried this, or any other recipe on my website, please leave a 🌟 star rating and let me know it went in the 📝 comments below!

    5 from 1 vote
    Prevent your screen from going dark
    SaveSaved!
    Print Pin Facebook
    Course: Main Dish
    Cuisine: Italian
    Prep Time: 40 minutes mins
    Rise time: 3 days d
    Total Time: 3 days d 40 minutes mins
    Servings: 4 10" pies

    Ingredients

    • 3 ½ cups bread flour 500 grams See Note 1
    • 1.5 cups water 350 grams
    • 1 teaspoon salt 16 grams
    • ½ teaspoon yeast 1 gram

    Instructions

    • Warm ½ cup of the water (not hot). Dissolve the salt and then mix the warm water back in to the remaining water.
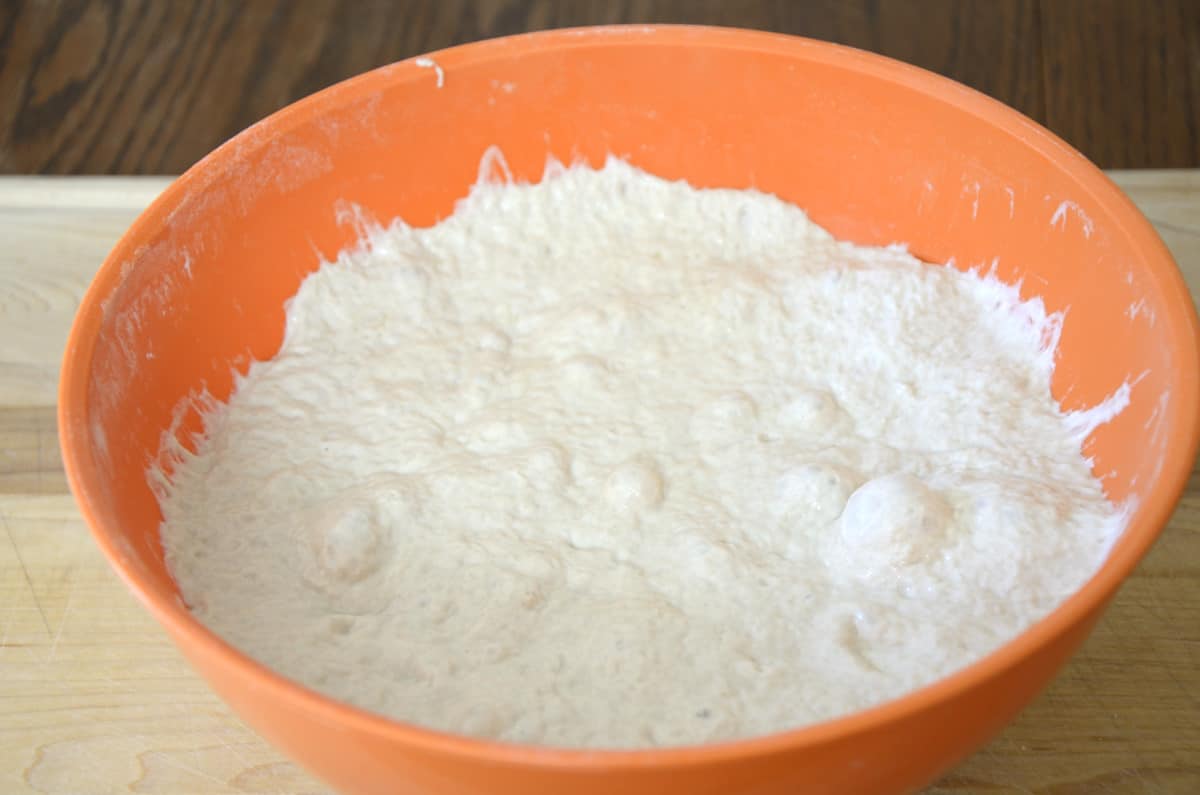
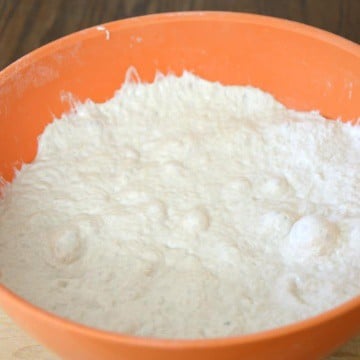
    • Mix the yeast and flour. Slowly add the water, stirring with a wooden spoon. Mix really well.
    • Turn the dough out to your counter or a cutting board and knead with the palm of your hand forcefully for about 3 minutes. You are trying to ensure there are no pockets of dry flour. When the dough starts to feel sticky it means the flour is hydrated.
    • Put the dough in a clean bowl large enough to allow the dough to double in size. Cover with plastic wrap and allow it to sit at room temperature at least 12 hours and preferably 24 hours.
    • Transfer dough to the fridge and allow to cold ferment at least 24 hours and up to 9 days. Dough is at its best on days 3, 4 or 5.
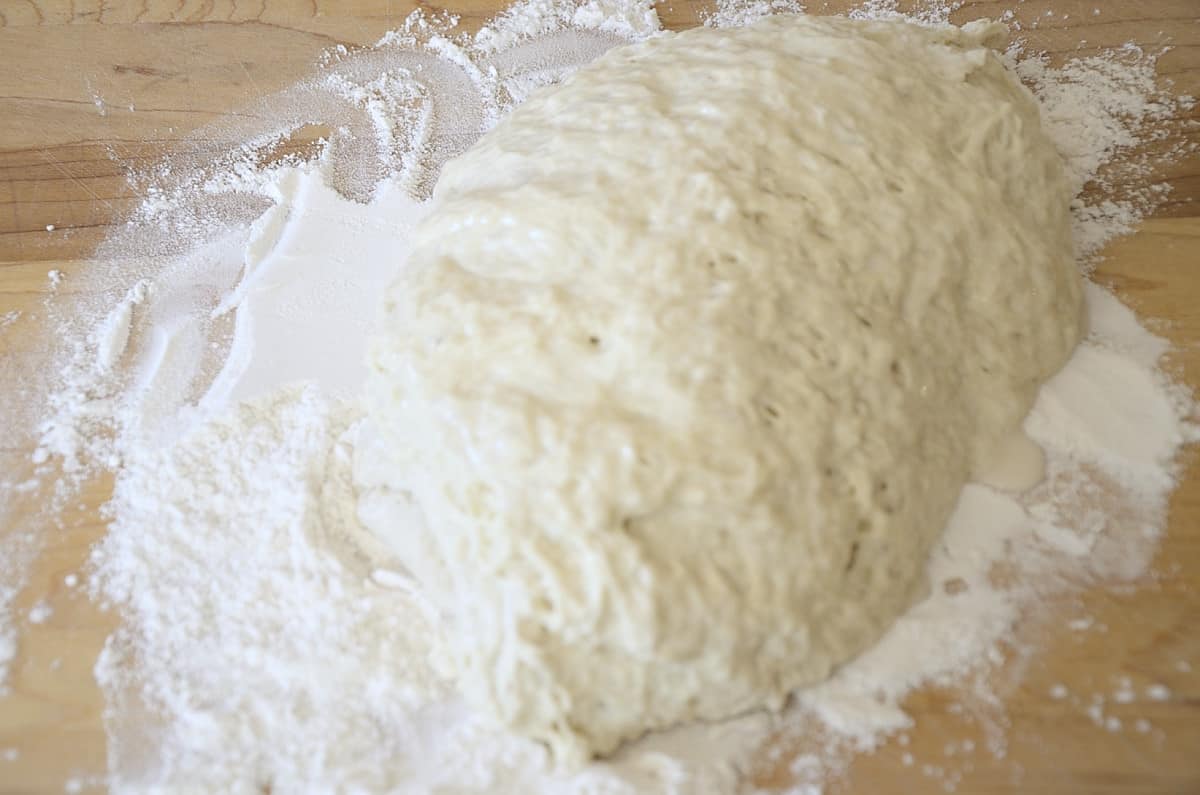
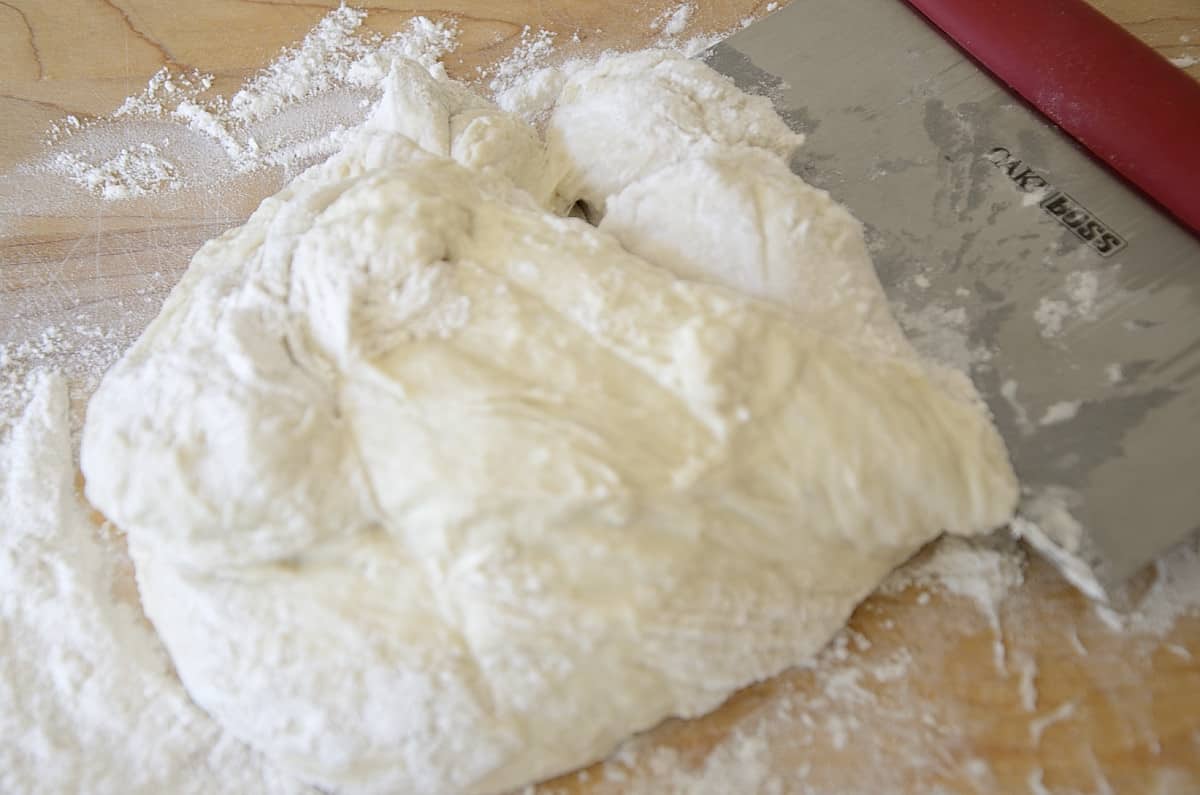
    • When ready to make pizza remove the dough from the fridge. Give it 30 - 60 minutes for it it warm up a bit. It will be easier to work with. Then turn the dough out on to a well floured surface. It is still very sticky at this point. Use a bench cutter to divide it into portions for number of pies you want. 8.5 oz (240 grams) for a 10-12" base. See Note 2 below.
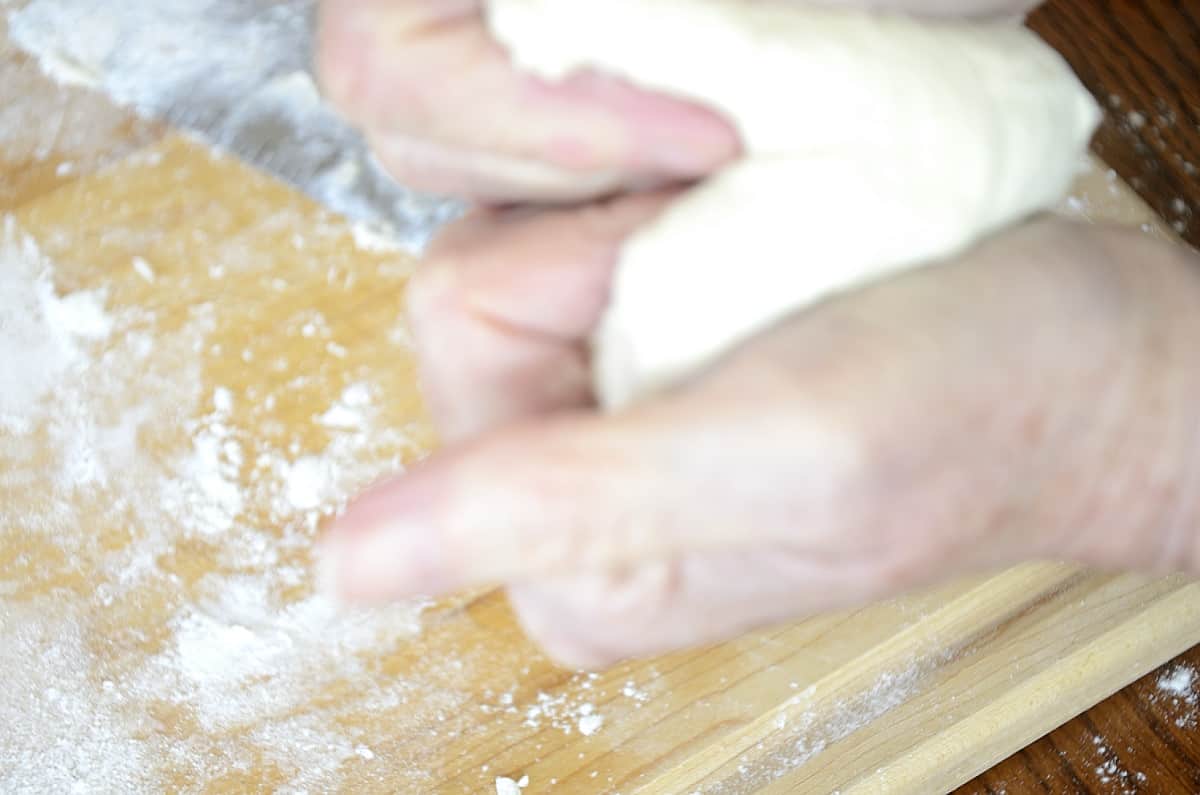
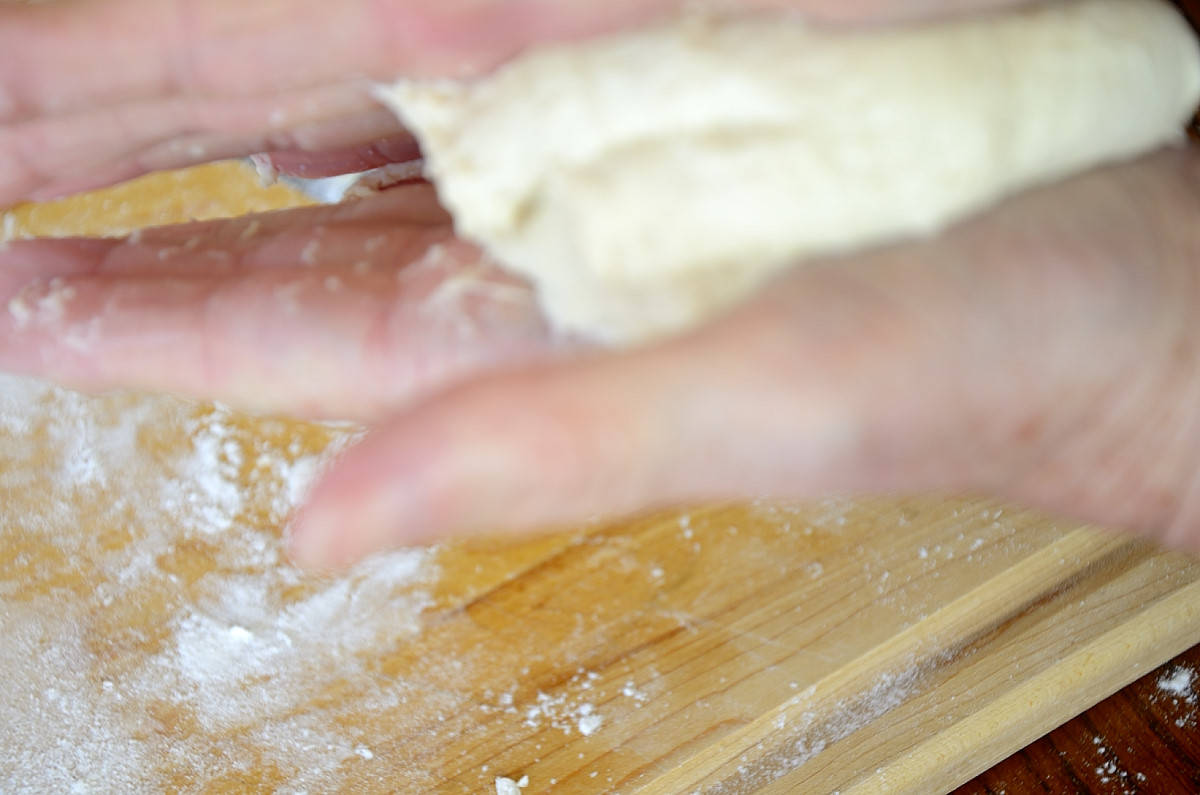
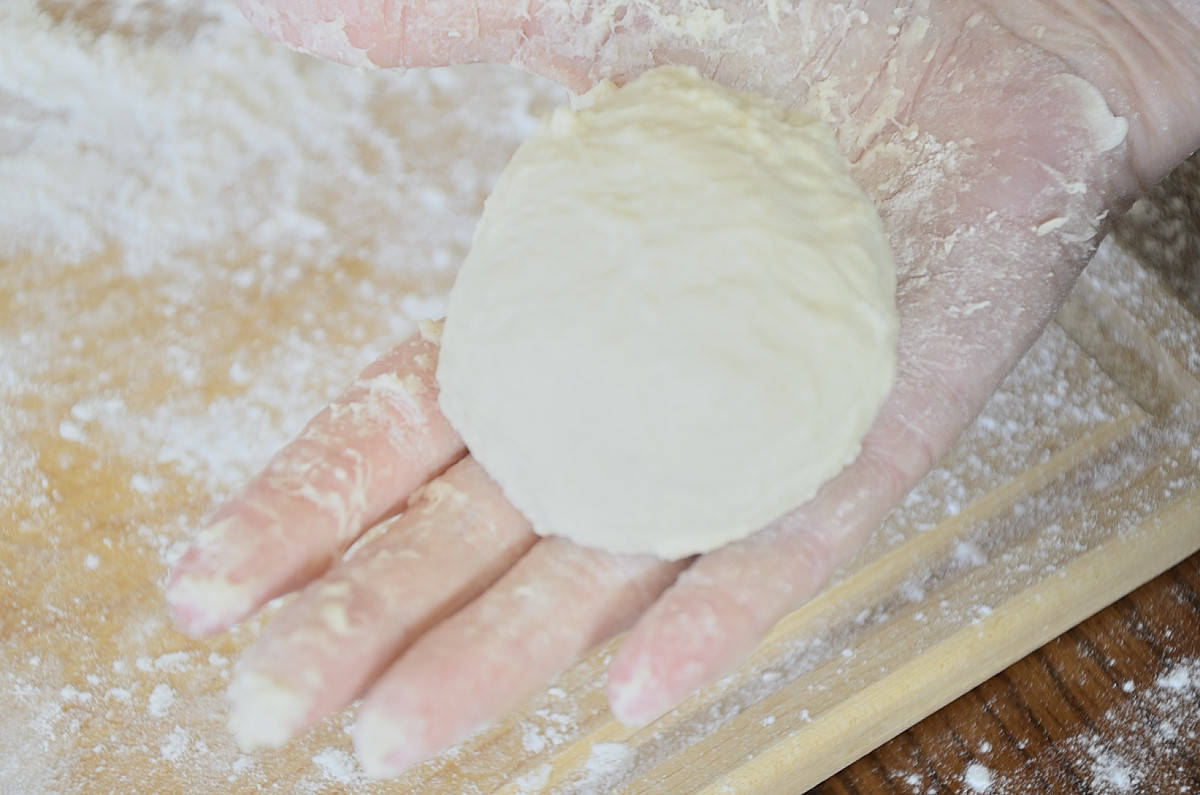
    • To convert each dough portion in to a useable dough ball, turn it to coat with flour on all surfaces. Hold the dough with both hands in front of you with your hands perpendicular to the work surface. Close your fingers into the middle of the dough which will fold the dough in to itself. Press the dough sides together firmly. You will have a smooth, stretched edge and a rough seamed edge. Turn your hands to flatten them so they are parallel to the work surface. Take the edges of the dough with your hands vertically, and the rough, seamed side facing away from you. Repeat closing your fingers so the dough fold in to itself and pressing the sides together tightly about 15-20 times. Flour your hands and the dough generously as needed to keep it from sticking. You will feel the dough start to get smooth and elastic. After the last fold, turn the outer edges of the dough down and tuck them in to the middle of the underside of the dough, stretching the top surface in to a smooth rounded surface. Pinch the seam edges together, twist slightly and tuck up inside the ball. You should have a nice round, smooth dough ball at this point.
    • Cover the dough balls air tight and allow them to sit at room temperature 5-6 hours. Stretch or roll the dough out to the thickness you want.
    • Use in your favourite pizza recipe.

    Notes

    Note 1:  Bread dough makes a sturdier crust but you can combine up to 50/50 bread dough and all purpose dough.
    Note 2:  8 ½  oz or about 240 grams makes a nice 10-12" pizza base.  Number and size of bases will depend on how thin or thick you roll out your dough.  My baking steel is the griddle that came with my oven so this recipe makes six 4.5 oz dough balls for me that I roll out to about 8" X 6".

    Nutrition

    Calories: 100kcal | Carbohydrates: 20g | Protein: 3g | Fat: 1g | Saturated Fat: 1g | Polyunsaturated Fat: 1g | Monounsaturated Fat: 1g | Sodium: 148mg | Potassium: 31mg | Fiber: 1g | Sugar: 1g | Vitamin A: 1IU | Vitamin C: 1mg | Calcium: 5mg | Iron: 1mg
    Tried this recipe?Mention @thewineloverski or tag #thewineloverski!

    Reader Interactions

    5 from 1 vote (1 rating without comment)

    Leave a Reply Cancel reply

    Your email address will not be published. Required fields are marked *

    Recipe Rating


    Primary Sidebar

    Hi! I am Carolyn - the Wine Lover in the Wine Lover's Kitchen! I absolutely love having friends and family around my table with great food and wine to enjoy. If you want great recipes and wine recommendations you have come to the right place!

    Learn more about me →

    Father's Day Recipes

    • French Brie Burger

    • Juicy burgers filled with melted cheese, caramelized onion and bacon, on a bun on a summery plate with dill pickle slices.
      Beer Can Stuffed Burgers

    • bourbon-bacon-burger
      Double Bourbon Bacon Burgers

    • Quartered quesadillas on a plate with avocado on the side
      Grilled Chicken Quesadillas

    Popular Recipes

    • Close up of creamy Cafe de Paris sauce.
      Café de Paris Sauce - The Original 'Secret Sauce'

    • Puffy, crispy flour tortilla flavoured with olive oil and chili, lime seasoning.
      Air Fryer Tortillas

    • Golden brown spinach feta scones on a plate.
      Savoury Spinach and Feta Scones

    • Piece of Italian crumb cake with pistachio cream filling, topped with crushed pistachios and icing sugar.
      Pistachio Cream Crumb Cake

    • Medium rare beef tenderloin sliced on a platter.
      Air Fryer Beef Tenderloin

    • Baked sweetened condensed milk buns piled in a basket.
      Bread Machine Sweetened Condensed Milk Dinner Rolls

    Footer

    ↑ Back to top

    Home

    Recipes Wine

    About

    • Privacy Policy & Disclaimer
    • Accessibility Policy
    • About

    Newsletter

    Tired of wandering around looking at wine labels? Get recipes and my Best Buy wine picks every two weeks!

    • Sign Up!

    Contact

    • Contact

    Follow me on:

    • Facebook
    • Pinterest
    • X -Former Twitter

    Copyright © 2025 The Wine Lover's Kitchen

    Rate This Recipe

    Your vote:


    A rating is required
    A name is required
    An email is required

    Recipe Ratings without Comment

    Something went wrong. Please try again.